Wittholz 17' 1" Plywood Catboat
September 2000 - October 2004
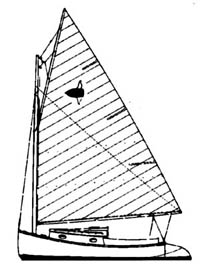
A catboat is a beamy, mono-hulled sailboat. The sail is often gaff-rigged, with the main mast set far forward. This utilitarian boat originated in Cape Cod around 1850. Most were used for fishing, and larger ones were used for hauling and passenger ferries. No one is sure of the name catboat, but it was said the boat was "fleet as a cat." Catboat races were common, but by 1930 the catboat became a popular pleasure craft.
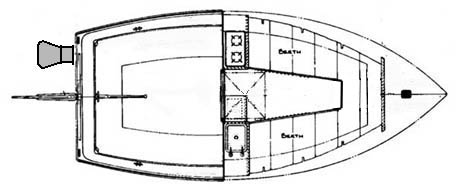
Construction is marine plywood over sawn oak frames. The enclosed cabin has berths and lockers port and starboard. The cockpit has bench seats on three sides. Auxillary power will be a 5-HP 4-stroke outboard bracketed to the transom. Most catboats have a centerboard, but I'm building the fixed keel version. Charles Wittholz designed this boat of marine plywood on oak frames. Blueprints and study prints available from Woodenboat Publications.
The Lofting
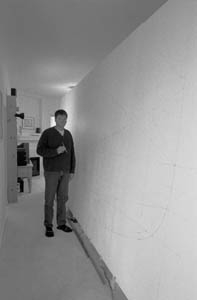
I started work in September 2000 building a large drawing board 20' long and 8' high for the lofting. Lofting is drafting in full scale. The idea is to make a full-sized drawing of the architect's plan. From the lofting, I make the patterns I need to cut out parts of the boat.
I decided to loft first, then decide to build. After drawing every frame, and every board in every frame, was I certain I could put this boat together.
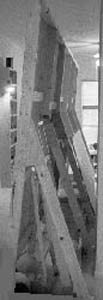
The Frames
There are 10 frames in the boat. Frame 10 is the transom. Frame 6 is the mid-ship frame, the widest part of the boat, and the entrance to the cabin. The frames have notches for the chine and sheer stringers.
The frames are made of white oak. The stringers are mahogany but could have been fir.
In December 2000, I started building the base building frame. The strongback is made of 2x8's and 2x10's leveled and screwed to the concrete floor. I'll build the boat upside down on this frame.
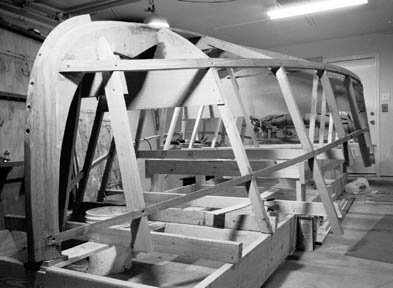
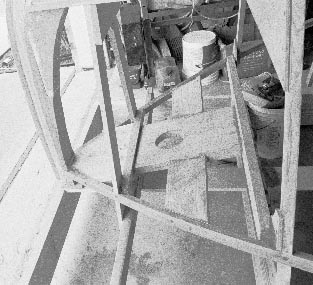
By March 2001, I have most of the framing done. All 10 frames are set up, and the keelson, chine and sheer stringers are installed. They are flexible enough to bend without steaming, and so is the plywood that will cover them.
The keelson runs down the center. Chines run where the side panels meet the bottom panels. The sheer stringers run along the top inside rails.
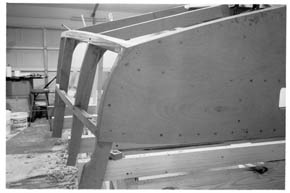
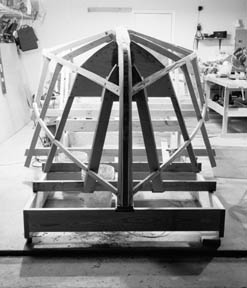
Frame 10 is the transom, and it's covered already with plywood.
The last part of framing is the breasthook and mast partner in the bow of the boat. These are hefty pieces of 2" white oak.
The Plywood
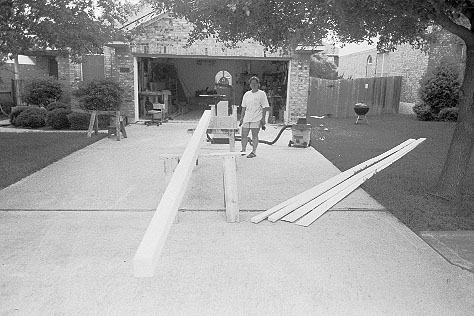
In April 2001, I started working with the plywood for the hull. The plywood is 9mm (3/8") okoume marine grade BS1099 standard. It is high-quality plywood, seven plies and no voids from Boulter Plywood.
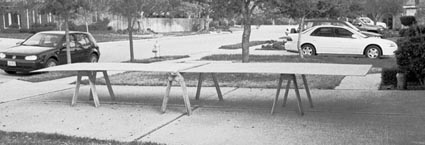
I cut both side panels from one sheet of 5x20' plywood made from 5x10' sheets. Each bottom panel comes from one sheet of 4x20' plywood made from 4x8' sheets.

The sheets are glued together using a scarf joint. This is a side view. The bevel is 10:1 for maximum gluing surface.
By July 2001, the side panels are fastened with epoxy and silicon bronze wood screws. The bottom panels are fitted, but not fastened until I do some work on the keel.
It's summertime in Austin. 105 degrees in the shade. Time to take a break!
The Keel
Resumed work in October 2001. This boat has a ballast keel. Part of the keel is made of lead, cast so it fairs with the wood.
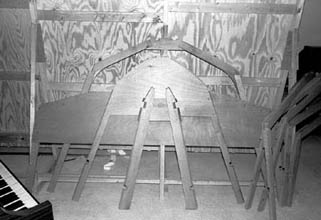
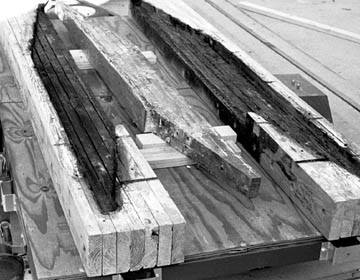
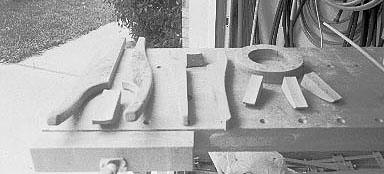
By December 2001, I made a mold for the lead casting (above left). The mold is in two halves, each a stack of 2x6's, glued with sodium silicate solution and bolted together.
The lofting for the mold was amazing. From the lofting, I lifted patterns to cut each 2x6 in the stack. Refer to Bud McIntosh How to Build a Wooden Boat.

In December, Lone Star Lead Construction in Houston filled the mold with 650 pounds of lead. The wooden mold was badly charred, but it was a good pour.
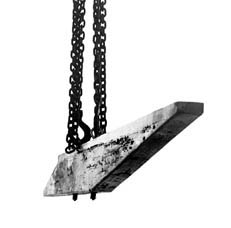
I am lucky to know David Dennis of Dennis Steel in Leander, TX who let me use the facilities at his steel fabrication plant. It was a boon to my personal safety to handle the lead with the overhead crane. The casting was rough out of the mold, so I used a spoke shave and a large rasp to clean it up.
The heat from the pour caused sap to bubble, leaving pock marks. I can smooth them out with epoxy thickened with fairing filler.
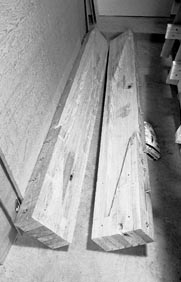
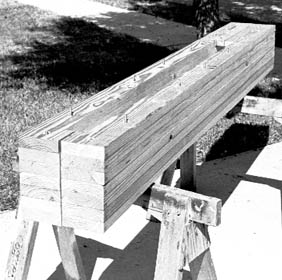
The wood in a keel is called the "deadwood." I used longleaf southern pine salvaged from structures built a hundred years ago. I got one piece 4"x12"x20' and one piece 4"x8"x10'.
I glued the pine into a blank and shaped it to fit the bottom of the boat and the lead casting.
The Hull

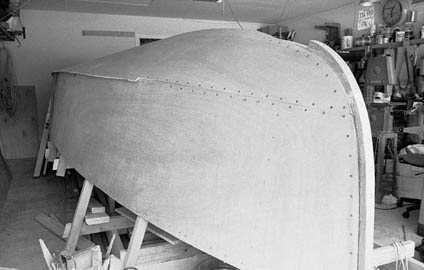
February 2, 2002, was a big day. With help from Sheila and Matt (Thank you!), we attached both bottom panels and the deadwood. The construction on the hull is complete, and it's ready for finishing.
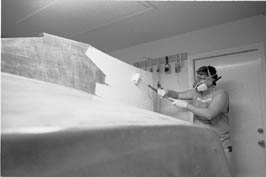
There is a layer of fiberglass, some fairing compound, and five coats of epoxy on the hull. I put two coats of a white two-part primer over that. There'll be blue bottom paint below the waterline, and a one-part white polyurethane paint topsides.
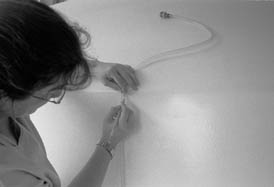
My wife Sheila is marking the waterline on the hull using a home-made water level. It's made of clear tubing and PVC pipe. The tubing is attached to the bottom of the PVC which is hanging up. Make an arbitrary mark on the clear tubing, then hold the mark to the desired water line on the boat. Add water to the PVC pipe until the water in the tubing reaches the mark. Move around the boat; when the water level in the tubing is on the mark, transfer the mark to the boat.

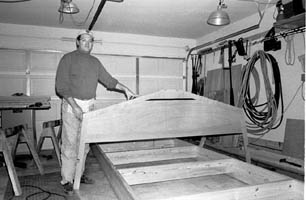
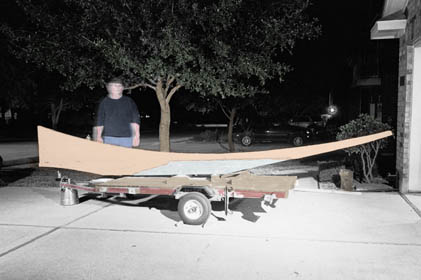
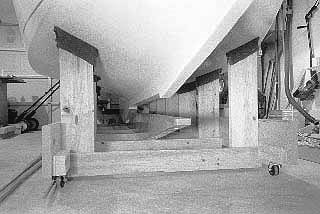
On April 14, 2002, I jacked up the hull and set it down on jack stands. I was able to remove the building jig and reuse that lumber to build a cradle that will hold the hull upright. I estimate the hull weighs 720 lbs. I hope to get about 15 guys to turn her over.
The Turning
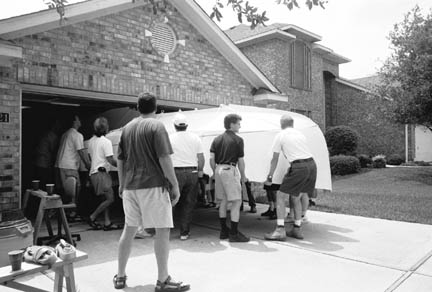
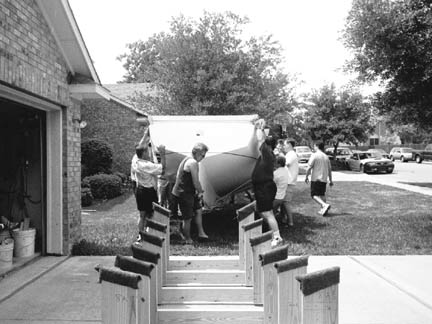
On Saturday 27 April 2002, I threw a party to turn over the boat. At 2 pm, a swarm of friends arrived, and by 2:15 there were at least 18 guys ready to pick up the boat. They eased the stern low under the garage door as I stood dumbfounded. As best as I could tell, the hull weighed 700 pounds at this point in the construction.
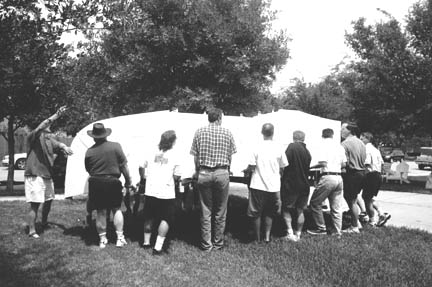
With no problem at all, the guys carried the boat to the grass and set it down.
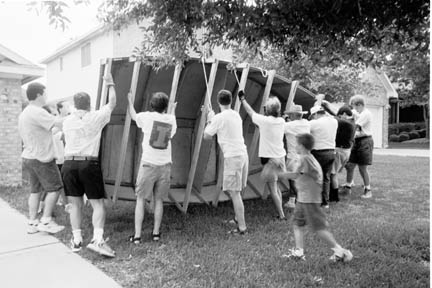
They picked up the port side and rolled it up onto the starboard rail. I thought this moment might be a problem for the boat, however, there wasn't a single creak or groan while up on edge. Leaving the cross spalls in place no doubt helped to reinforce the gunwales.
Days prior, I removed the building jig and reworked into a cradle.
I temporarily installed some bolts in the keel bolt holes then tied ropes to them for handles. However, Ray (at stern) just picked up the boat from the bottom of the keel!

The cradle is on eight casters, and it rolled easily into the garage. Tap the keg! Thanks to everybody who helped turn over the boat.
Topsides
April 2002 - February 2004
A boatbuilder told me he built a Wittholz catboat for a client, just the hull. "I'm not sure that boat ever got finished. Most people think the hull is the hard part."
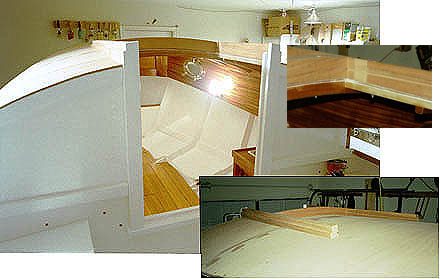
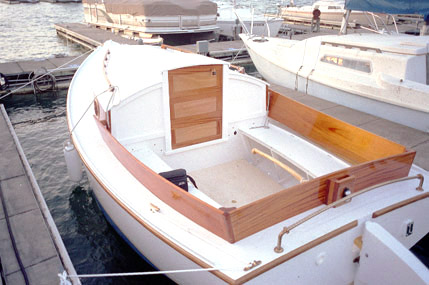
Now that the boat is right side up, I can start working on the decks, soles, seats, berths, rudder, tiller, outboard motor and bracket, and cabin trunk. The boat is level on its cradle.
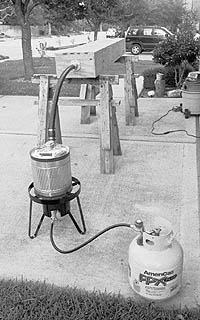

In the cockpit, there are bench seats on three sides. To bend the stringers, I made a steam box (left). Until now, I had no need to steam-bend anything. However, there is a lot of curve in the cockpit coamings and the cabin sides, so I'll be using this rig again soon.
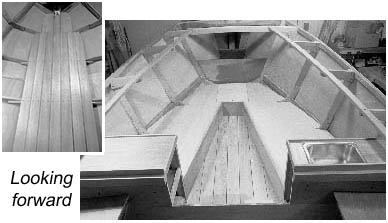
In the cabin, I resawed the heart pine left over from the keel and used that for floorboards: honey-colored and no knots. I framed V berths and two lockers. There's a sink on the starboard locker and room for a potty under the port locker.
By April 2003, the interior parts are dry-fitted, removed, and painted or varnished. I counted 140 pieces. The plywood deck panels have been fitted and installed (not shown). Time to paint the hull inside and out.
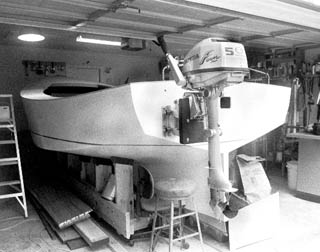
The outboard motor bracket attaches to some extra bracing in the transom.
After six months of riding around on my trailer, I skim coated the lead with epoxy and filler then brushed a couple clear coats of epoxy over that. Getting it off the trailer was exciting; it only got loose once. No one was hurt. On May 26, 2003, we installed the lead ballast with six keel bolts of 1/2" silicon bronze and 3M 5200 adhesive.

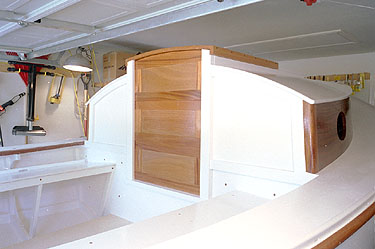
After the decks, I started on the house. I installed the fore and aft ends of the house first. Then I installed temporary supports and steam bent the 3/4" mahogany sides around them and attached them to the cornerposts. The picture at right shows the arrangement of inner and outer cornerposts.
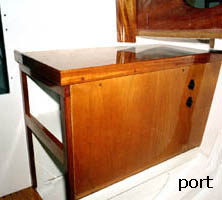
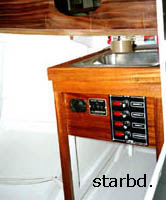
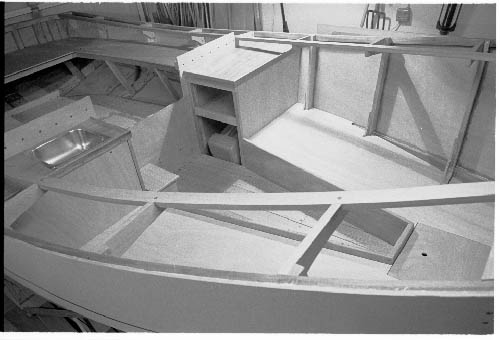
The lockers are installed port and starboard. The port locker has 12V sockets for accessories and room for potty underneath. The starboard locker has a sink with dashboard under. There are circuits for:
- Anchor light
- Navigation lights
- Cabin lights
- Amplified speakers (Cambridge Soundworks)
- Bilge pump with float and manual switches
- 12V socket in the cockpit
- 12V sockets in the cabin
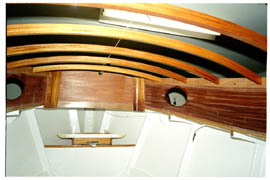
With the house sides glued and screwed, I stretched a piece of string down the center of the house. Using a house crown pattern, I faired the top edges of the sides to match the pattern. Then I installed 3" beam ledges with full mortises to accept the ends of the house beams.
I cut the holes for the portlights after installing the house sides. Never mind the bowlocks, I found oval portlights at Classic Marine.
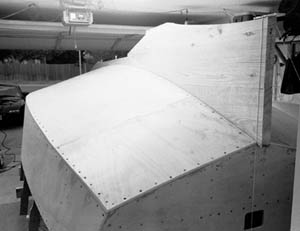
By September 2003, I installed the roof on the house. I scarf-joined two pieces of plywood, running the joint athwartships. I painted the underside of the roof first then installed it with 3M 5200 and screws.
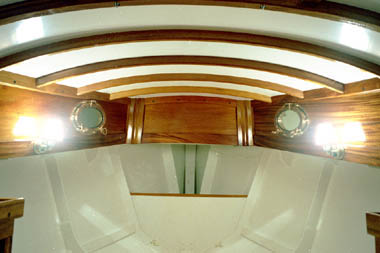
This picture shows the trim along the bottom edge of the sides that hides the edge of the deck plywood and light fixtures attached to the trim.
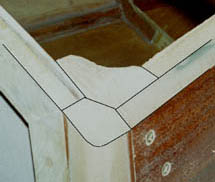
Of everything in the boat, the companionway held the most mystery for me. In one place, there are a dozen pieces of wood that meet within inches.
Following the instructions in How to Build a Wooden Boat by Bud McIntosh, I made the rails, the drop-board slots, and a sliding hatch cover. The hatch cover is removeable.
This picture shows the three paneled drop boards of mahogany and the hatch cover of cedar. The toe rails and the outer gun'l rails are installed, but not the cockpit coamings.
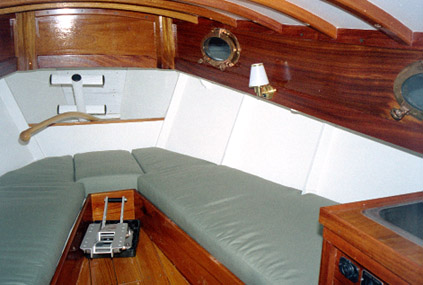
Long Upholstery Service, Austin TX, made the berth cushions from patterns that I supplied.
The Launch
February 11, 2004
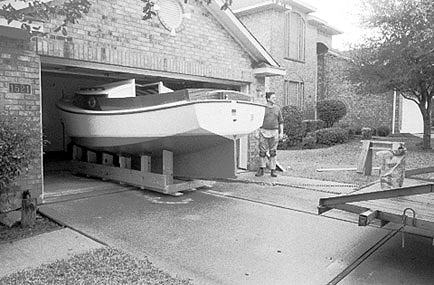
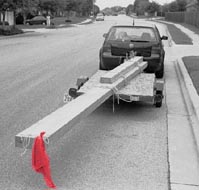
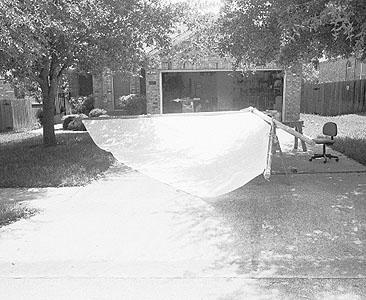
It was a chilly rainy Wednesday when Eric Stough, owner of Boat Mobile, came to launch the boat. Eric threaded a strap around the cradle and dragged it out of the garage.
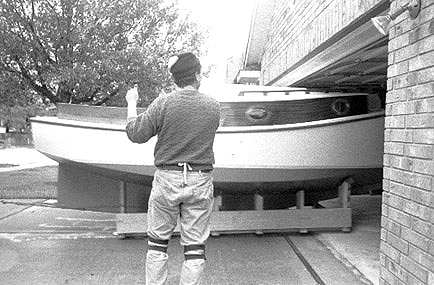
We have always been concerned that the boat would not clear the garage door. It was a tight fit! Runners on the cradle, and sand under the runners, helped the cradle slide over the driveway.
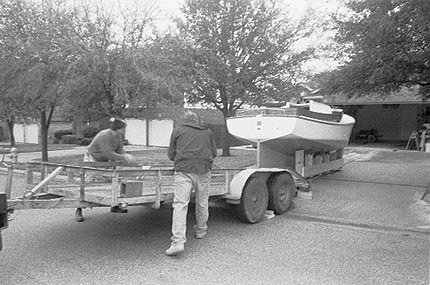
Eric dragged it to the street then positioned his flat-bed trailer in a low spot. Using two winches, we pulled cradle and all on the trailer. In an hour's time, Eric was headed to the lake.
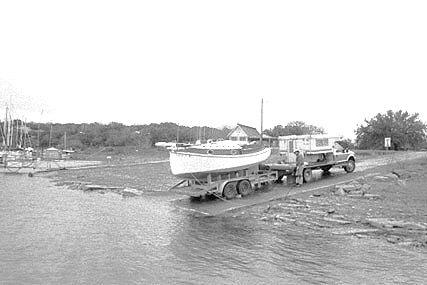
At Lake Travis, Eric connected the trailer to the truck with a long strap in order to sink the trailer enough to float the boat.
Rarely do you see a boat launched bow first. She looks ready to dive in.
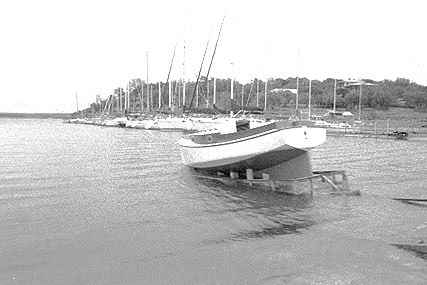
Free and afloat. She rides higher than I thought, but she'll ride lower when she's rigged. We hung the rudder and got a tow to the slip.

The Sailing Rig
February 2004 -October 2004
The spar material arrived in August, 2003, from Port Townsend, WA. I ordered one 6"x6"x26', one 4"x4"x16', and one 4"x4"x-20' of sitka spruce from Edensaw Woods in Port Townsend, Washington. The spruce is free of knots, free of heart center, and not kiln dried.
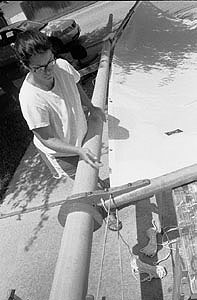
This picture shows the main mast on the bandsaw: tapered, but still four-sided. Next, I used a spar marking tool (described in How to Build the Shellback Dinghy) and marked all four sides. The spar marking tool draws two lines on each side. Then I removed the corners to the lines for an eight-sided spar. From there, I eyeballed to 16 sides, then to round.
I made the spar-sanding tool described in Bud McIntosh's book which is a belt-sander belt turned outside in and driven with an electric drill.
I found an article in WoodenBoat Magazine #59, "The Right Jaws for your Gaff and Boom," and decided to make wooden jaws instead of a metal gooseneck.
The sail arrived in August 2004 from Thurston Sails in Bristol, Rhode Island. Steve Thurston did a good job building the sail.
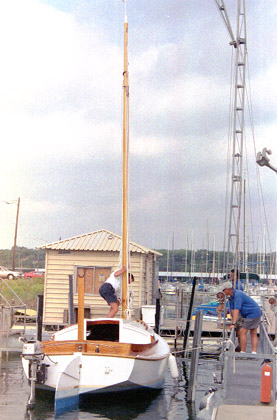
On Friday October 1, 2004, I reserved the crane at the marina and made an appointment with their rigger Paul Schmidt to finish the forestay (there are no shrouds). Using the crane, we stepped the mast once to measure the forestay. Paul cut it to length and swaged a fitting to the bottom. Then we stepped the mast again with a 2004 penny in the step.
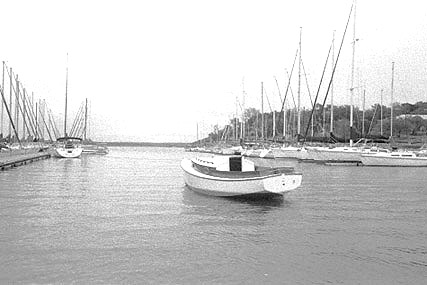
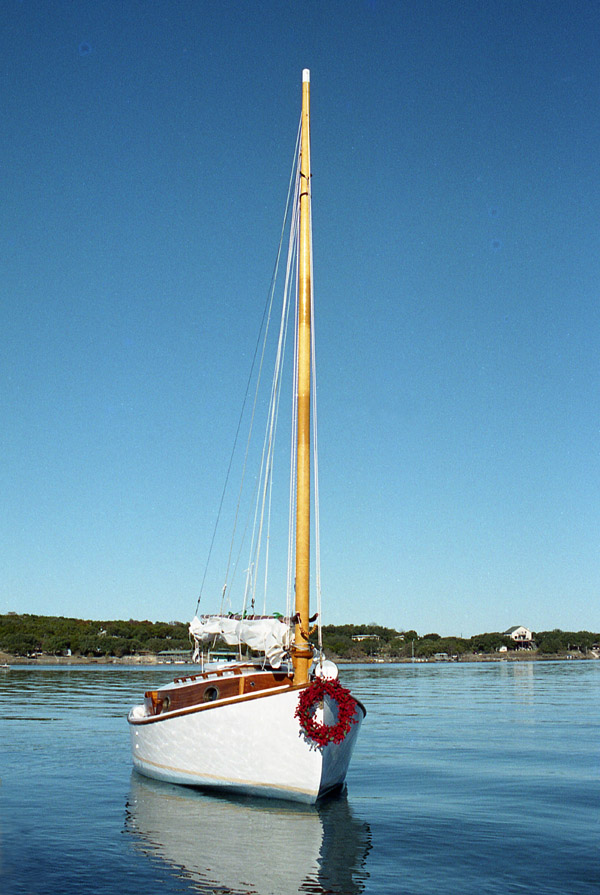
That afternoon, we laced on the sail and took her out. This boat is done!
See Also
The catboat maintenance page continues Cupholder's story since her construction.